Slay Fortnite's Shogun X in C6S2 for Absolutely Cracked Mythic Loot & Glory
Face Fortnite Chapter 6 Season 2's resurrected Shogun X on the Loot Island to claim mythic gear in this ruthless boss fight.
The year is 2026, and Fortnite Chapter 6 Season 2 has once again thrown down the gauntlet with the return of a boss so ruthless, so extra, that even seasoned loopers feel their palms sweat. After Diego supposedly clapped the original Shogun X back in the Season 1 finale event, nobody expected this samurai nightmare to respawn harder than a rebooted squad. But here he is, baby—Shogun X 2.0, glowing with malice and packing mythic heat that could send any wannabe Victory Royale into absolute shambles. This isn’t just a boss fight; it’s a full-blown cinematic war where only the sweatiest, most locked-in warriors walk away with gear that practically screams, ‘I own this lobby.’ So grab your mats, charge your shields, and prepare to dance with the deadliest specter the island has ever conjured. This is the ultimate guide to finding, fighting, and utterly destroying Fortnite’s resurrected Shogun X for loot that is, no cap, straight fire. 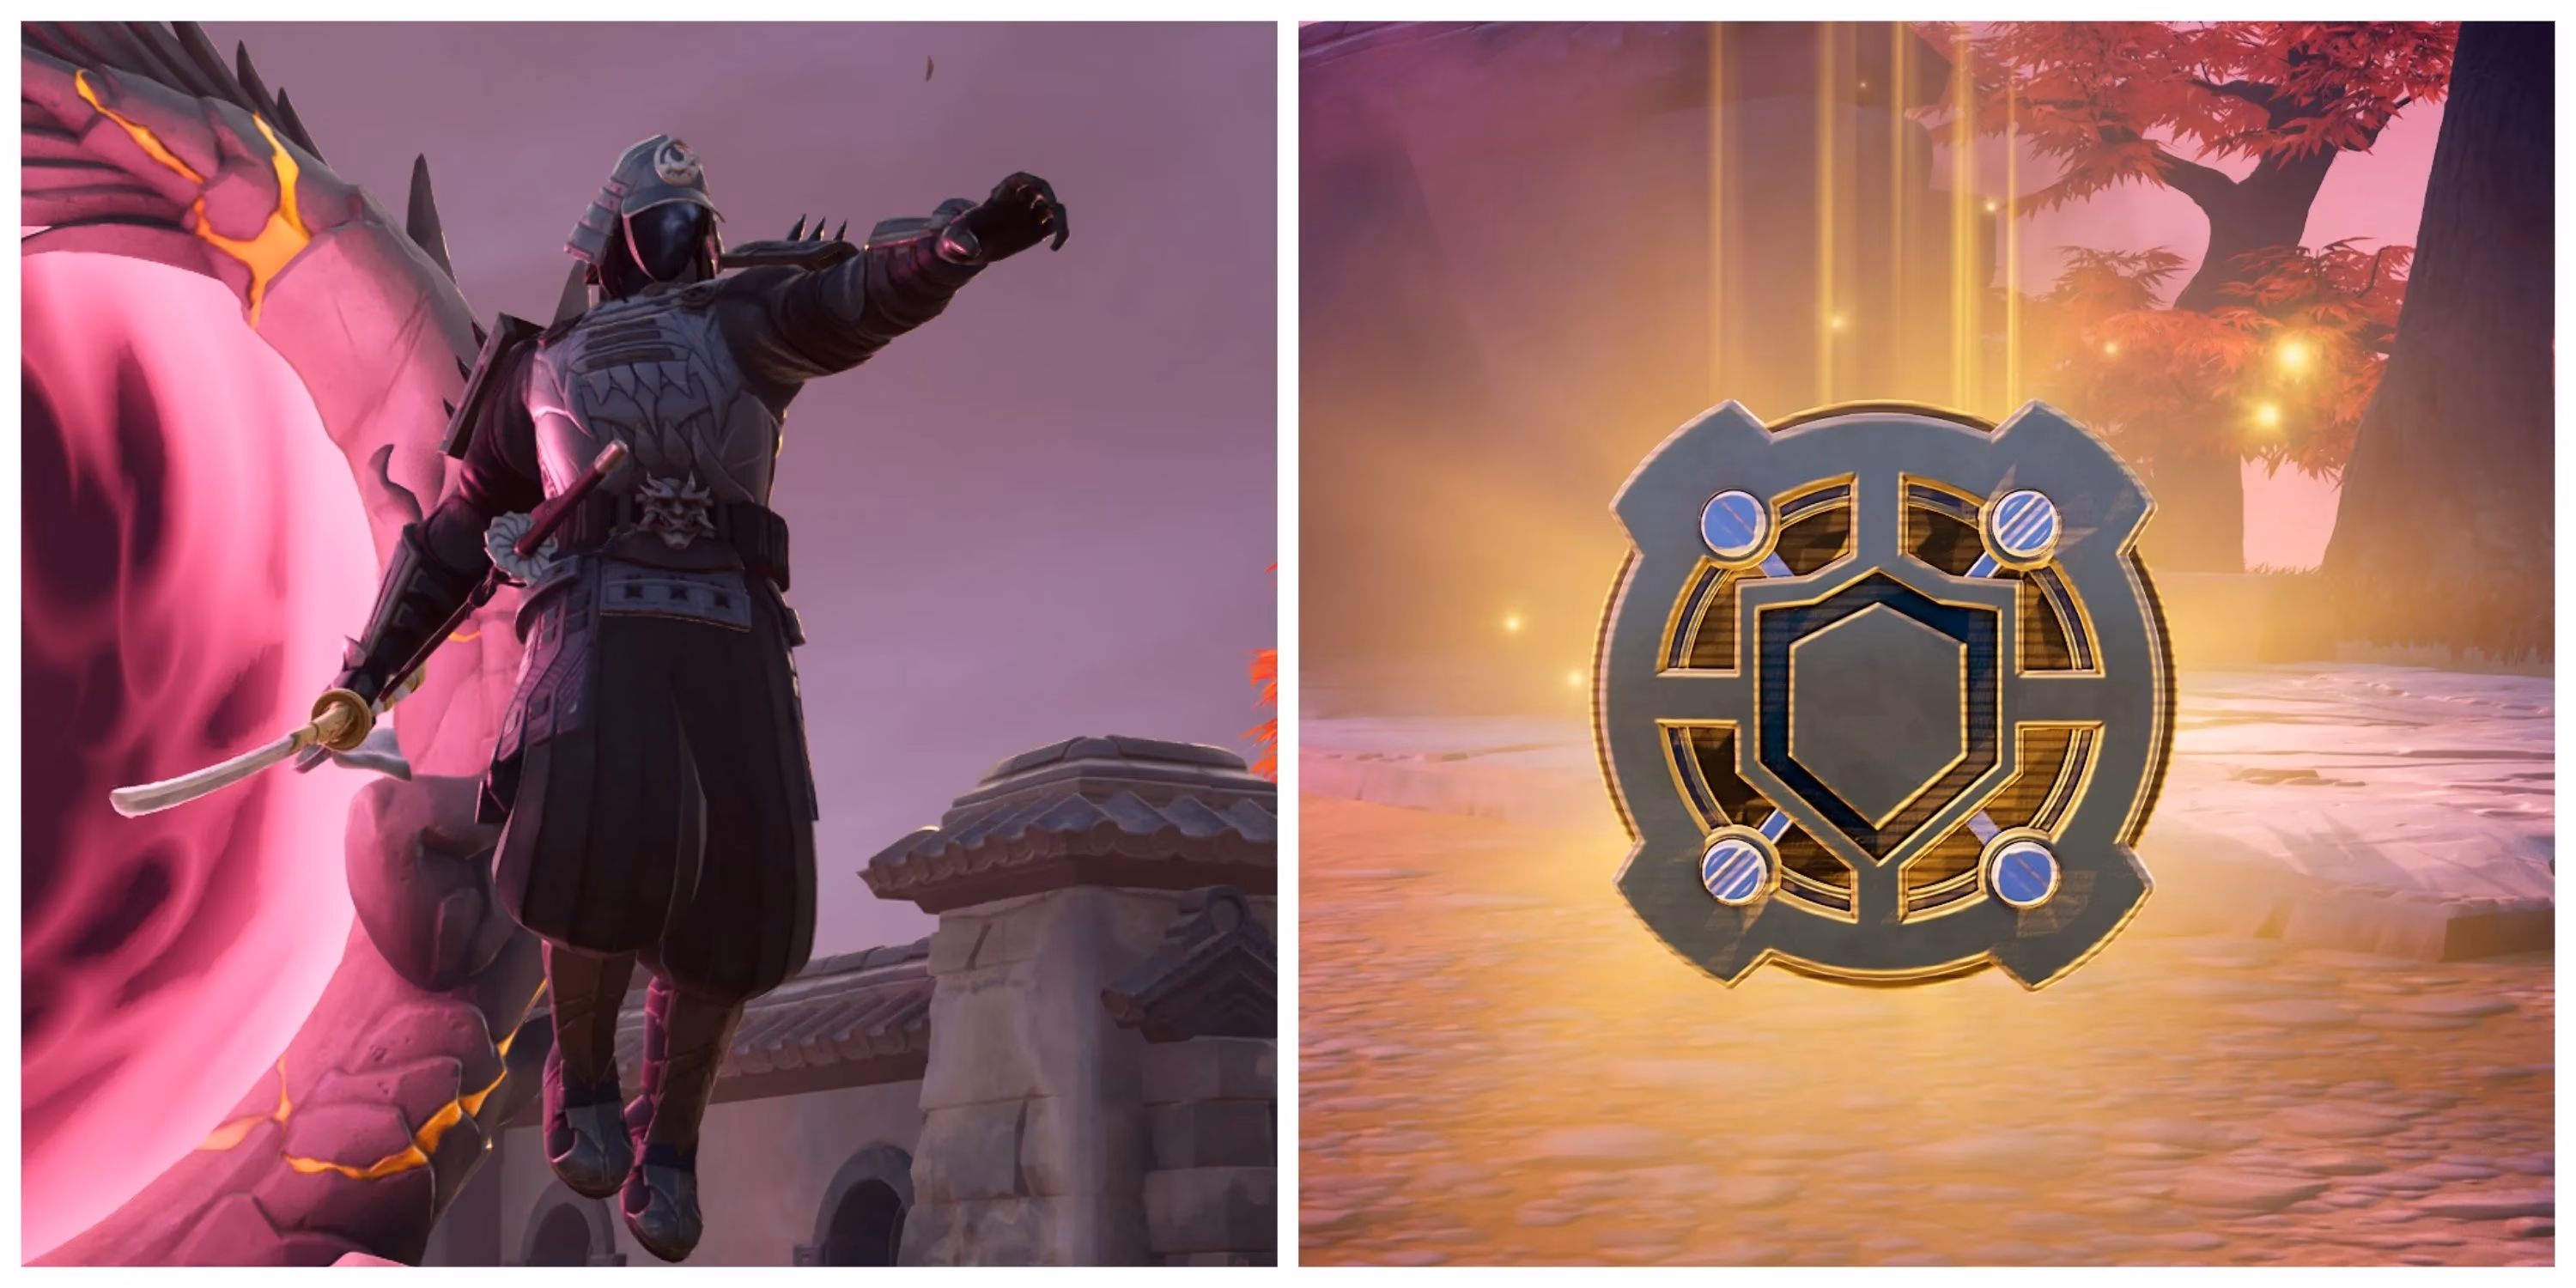
🗺️ When & Where the Madness Spawns
Patience, young grasshopper, because unlike the Chapter 6 Season 1 version that liked to play peek-a-boo across the map, this Shogun X plays by a totally different set of rules. Players cannot just hot-drop and hope to bump into the boss. They have to survive the chaos of thirteen long minutes—through relentless third parties, storm rotations, and the usual Battle Bus shenanigans—until the clock strikes Storm Circle 4 of 12. That’s right, around minute 13, the island itself gets impossibly dramatic, and a sinister red beacon pierces the sky like a bad omen. This is the signal every cracked squad dreams of: the Loot Island has materialized, and it houses the legendary Shogun X.

The location of this floating doom fortress is as random as a chest spawn, tied directly to the shifting Storm Circle. But make no mistake, the moment that crimson aura shows up on the map, every w-key warrior, bush camper, and zero-build demon within a thousand meters will rotate toward it like moths to a flame. The island itself looks like a chunk of feudal Japan ripped from a nightmare, and at its center stands Shogun X, absolutely dripping with menace. Players who manage to claim the high ground early (looking at you, Obi-Wan enthusiasts) can turn this chaotic rush into a tactical masterpiece, but the real test begins when they come face-to-face with the boss himself.
⚔️ The Boss That Eats Melee Spam for Breakfast
Shogun X is no pushover, and anyone who thinks they can just hop in and pickaxe him into oblivion is about to have a very bad time. This spectral warlord has a move set that fluctuates between long-range zoning and close-quarters devastation, all designed to humble even the most confident hot-droppers. He doesn’t just attack; he performs, each move a deadly scene from a chaotic Noh play. Players who memorize these three hellish techniques will find their success rate skyrocketing faster than a launchpad escape.
| Attack Name | What It Does 💀 | How to Dodge Like a Pro |
|---|---|---|
| Fire Oni Attack | Shogun X hurls three flaming Oni masks that home in on targets, dealing catastrophic impact damage. Getting clipped by one can delete your shield in a flash. | Sprint perpendicularly and slide like a maniac. The auto-targeting gets bamboozled by rapid direction changes, so never stop moving, sheesh. |
| Inferno Charge | The boss levitates dramatically and unleashes a volcanic eruption, turning the ground into a magma death zone. Standing in glowing rock areas is a one-way ticket to the lobby. | Look for safe spots that aren’t glowing like lava lamps. Use this charging moment to beam him with everything you’ve got—he’s a sitting duck while the ground cooks. |
| Samurai Slash | In a flash, Shogun X charges his katana and lunges across the arena faster than a Shockwave Grenade, knocking back any player in his path like a ragdoll. | Slide. Just slide. The slide mechanic literally ducks under his slash, making you feel like an absolute ninja. Practice this and you’ll never get booped again. GG. |
By now, players should have a full kit of weapons and ammo because this beefy boss has a health pool that would make Doctor Doom jealous. Since thirteen minutes have passed since dropping from the bus, it’s totally feasible to be stacked with mid-to-late-game loadouts. The trick isn’t just surviving his attacks—it’s punishing him after every dodged combo. A word to the wise: melee weapons like Sub-Zero’s Kombat Kit are a meme here. The boss takes barely any damage from close-range smacks, and being in his face is practically a death wish. Keep your distance, keep your wits, and keep that trigger finger itchy.
🔫 The Optimal Arsenal to Melt a Mythic Menace
Sure, you could try to take him down with a grey pistol and prayers, but that’s a fast track to watching your squad get wiped while you’re back on the bus. After extensive labbing and more eliminations than we can count, the meta for shredding Shogun X in Chapter 6 Season 2 is crystal clear. Three guns reign supreme, and together they form a holy trinity of damage that makes the boss fight feel like a free-for-all piñata beating.
-
Precision Veiled SMG: This thing is an absolute bullet hose. For players who can control its recoil, it shreds through his health bar in close-to-mid-range windows when he’s recovering from attacks. Fast-firing, reliable, and incredibly satisfying, it’s the kind of weapon that makes you mutter “ain’t no way” as his shield evaporates.
-
Holo Twister Assault Rifle: Before you even get the mythic version, the regular Holo Twister is a laser beam. Tapping heads with its scope during his Inferno Charge stall is practically free damage. It’s the swiss army knife of this engagement.
-
Falcon Eyes Sniper Rifle: For the gigachad players who like to chunk his health from a safe distance, this sniper delivers devastating burst damage. A well-placed headshot can accelerate the fight astronomically, leaving the boss flailing while you’re already dreaming about that mythic loot.
Run these three, keep your heals hotkeyed, and Shogun X will start looking more like a slightly angrier loot chest.
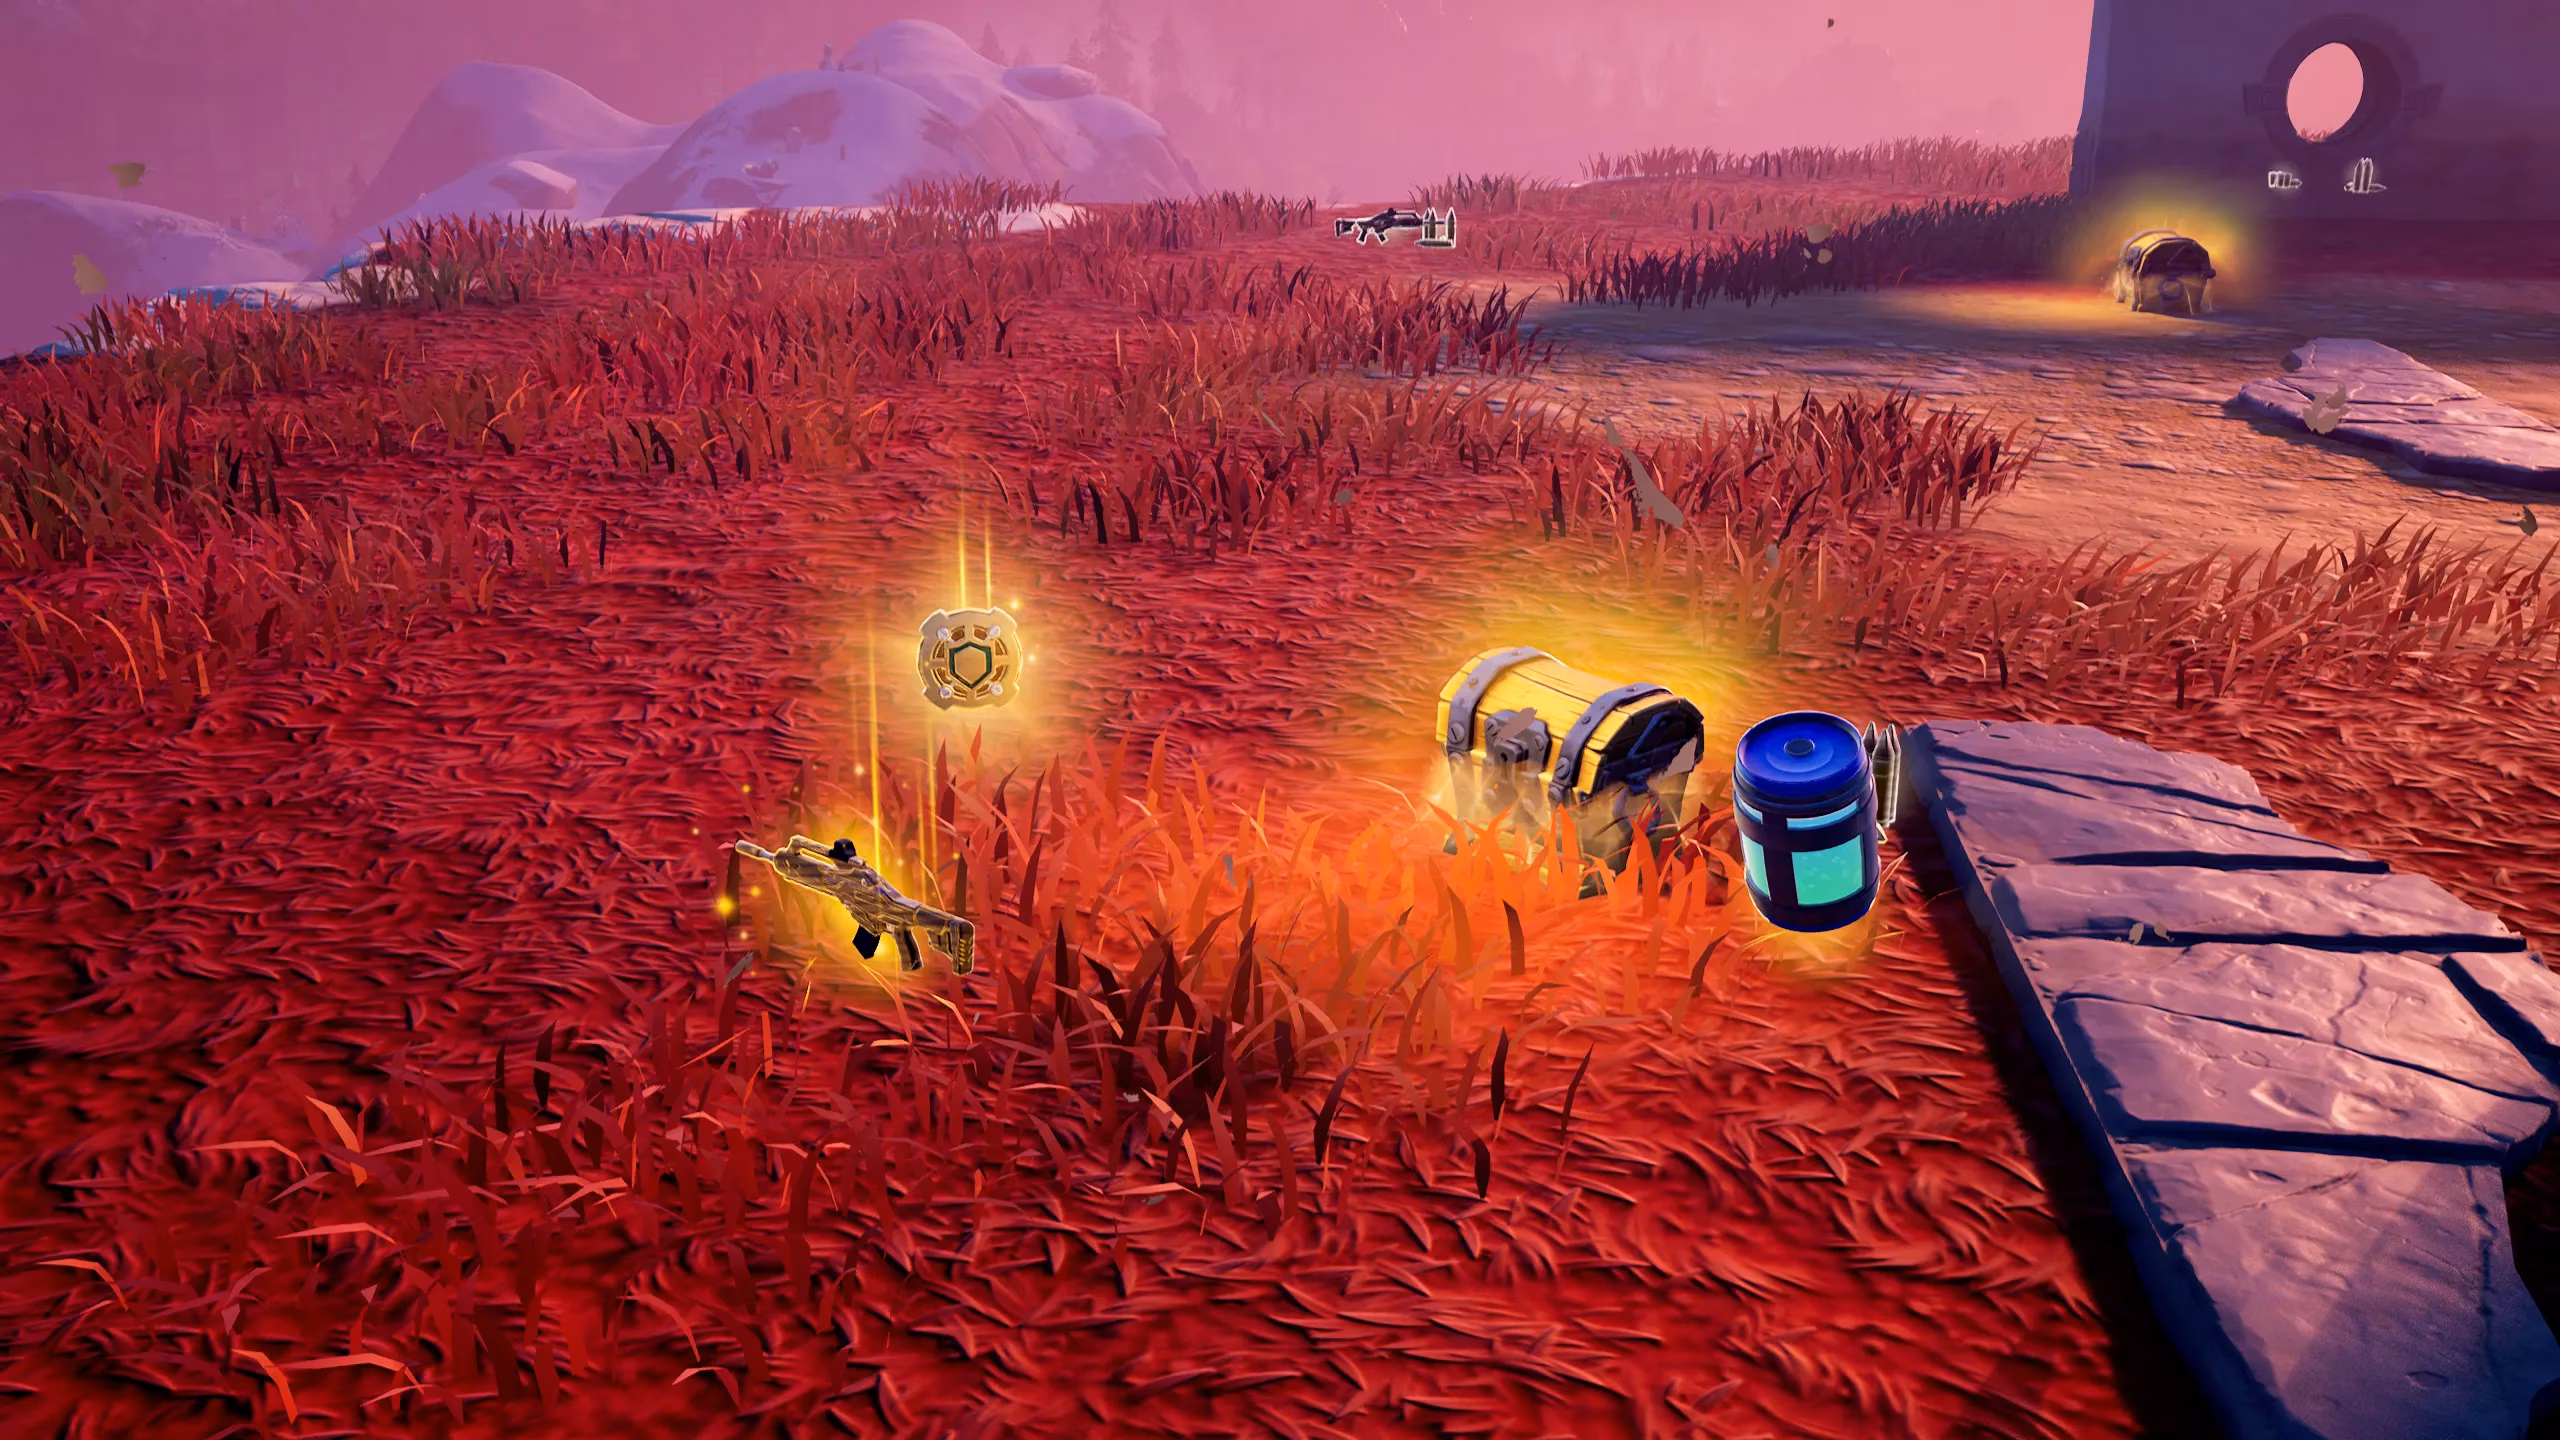
💎 Loot So Mythic It’s Practically Illegal
When the dust settles and Shogun X’s digital soul gets sent back to the shadow realm, the real party begins. His body explodes into a glorious shower of gold, dropping treasures that can single-handedly turn a top-10 sweatfest into a guaranteed crown win. Beating him yields a precise trio of items, and missing out on even one is a travesty.
🎯 Enhanced Holo Twister Assault Rifle
Forget every other AR in the loot pool. This mythic variant is a precision monster blessed with a scope that hitscan enthusiasts will worship like a shrine. The standout feature? Quicker ADS speed. Players can snap to their sights faster than a flick shot on a caffeine binge, granting near-instant laser accuracy. With its immaculate recoil pattern, fire rate that rivals a hummingbird’s wings, and the season’s beloved hitscan mechanic, the Enhanced Holo Twister is the undisputed king of reliability. It makes engagements feel unfair—in the best way possible. When you’re holding this beauty, every peek is a potential elimination. It’s the kind of gun that has opponents raging in creative mode for hours afterward. 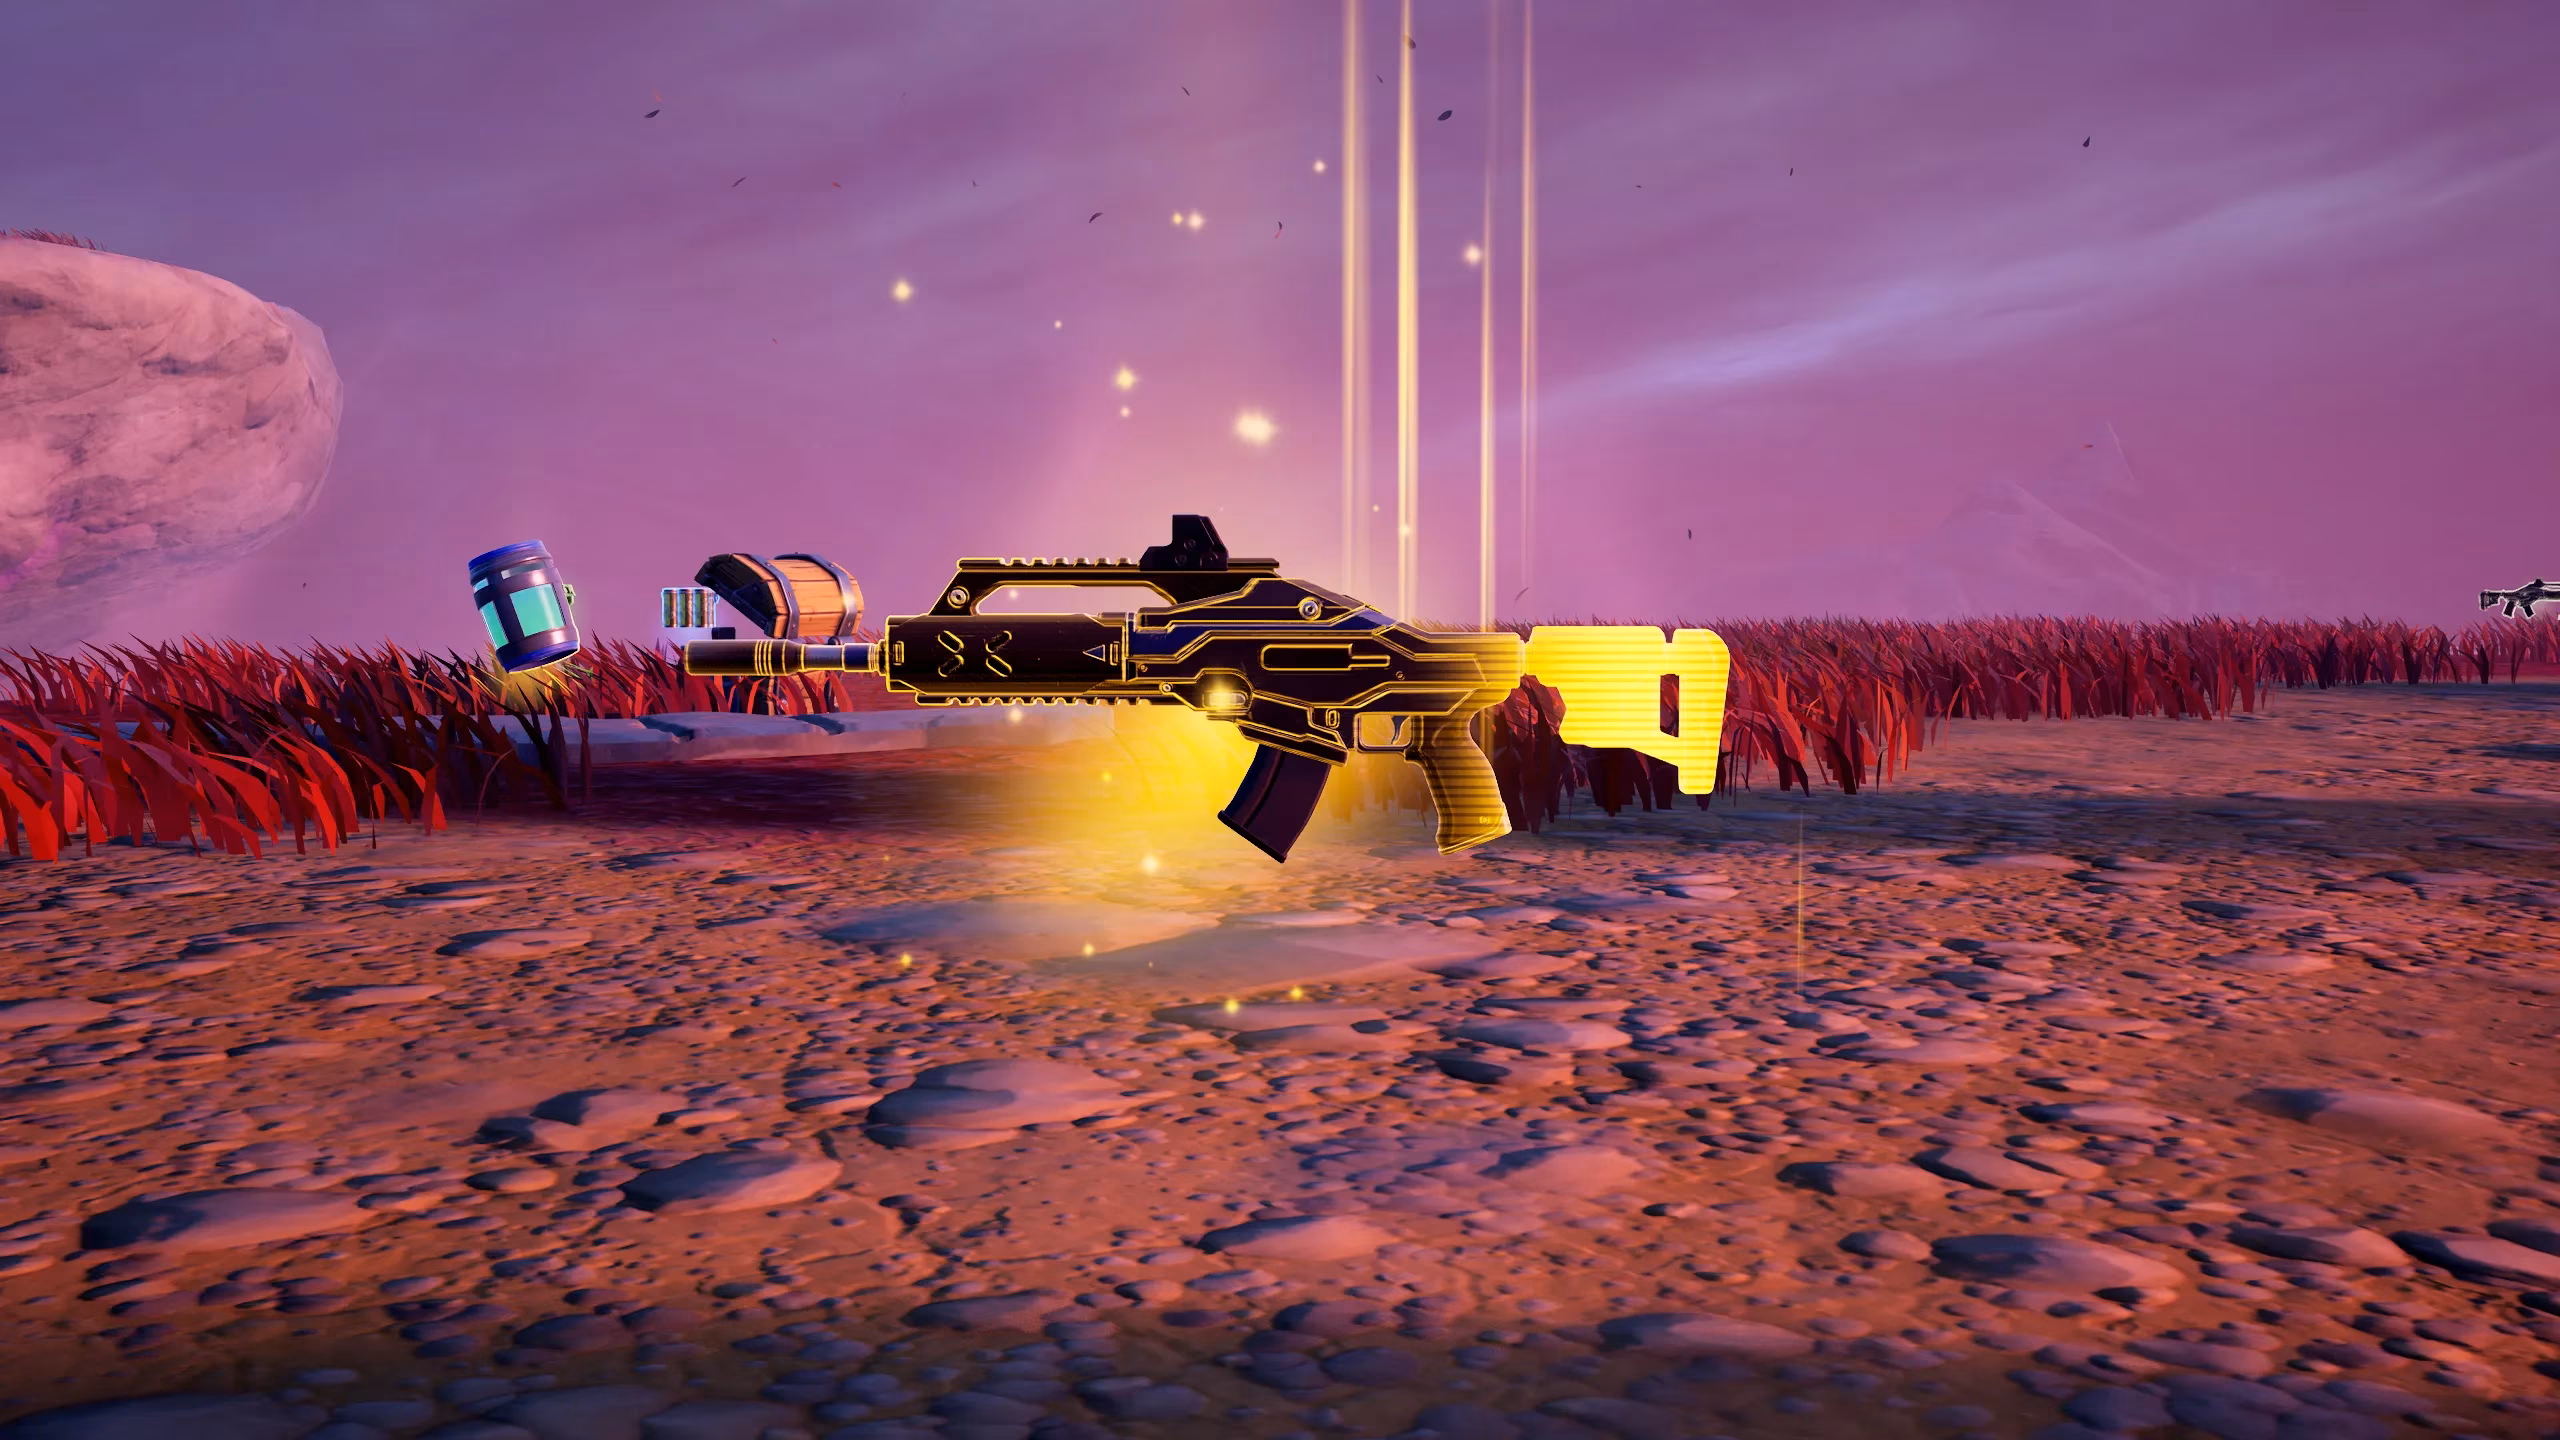
🛡️ Super Shield Medallion
Now here’s where things get spicy and profoundly strategic. The Super Shield Medallion is an absolute enigma. When players use any healing item—be it a Chug Jug, medkit, bandage, shield potion, or small shield potion—the medallion drops a Shield Bubble Jr. right at their feet. Instant cover, instant protection, like a personal bodyguard that says “not today, sweat.” Sounds amazing, right? Well, it’s also a double-edged katana. That shimmering bubble screams to the entire lobby, “HEY! SOMEBODY IS HEALING RIGHT HERE!” It’s a bait beacon that can draw third parties like sharks to chum. Smart players will weigh the risk: in the chaotic late game, where every remaining foe is scoped in and ready to snipe, a burst of invulnerability during a Chug Jug chug is a massive flex. It dares opponents to push, only to meet a fully shielded warrior with an Enhanced Holo Twister. Use it wisely, and the Super Shield Medallion transforms from a liability into a galaxy-brain power play. 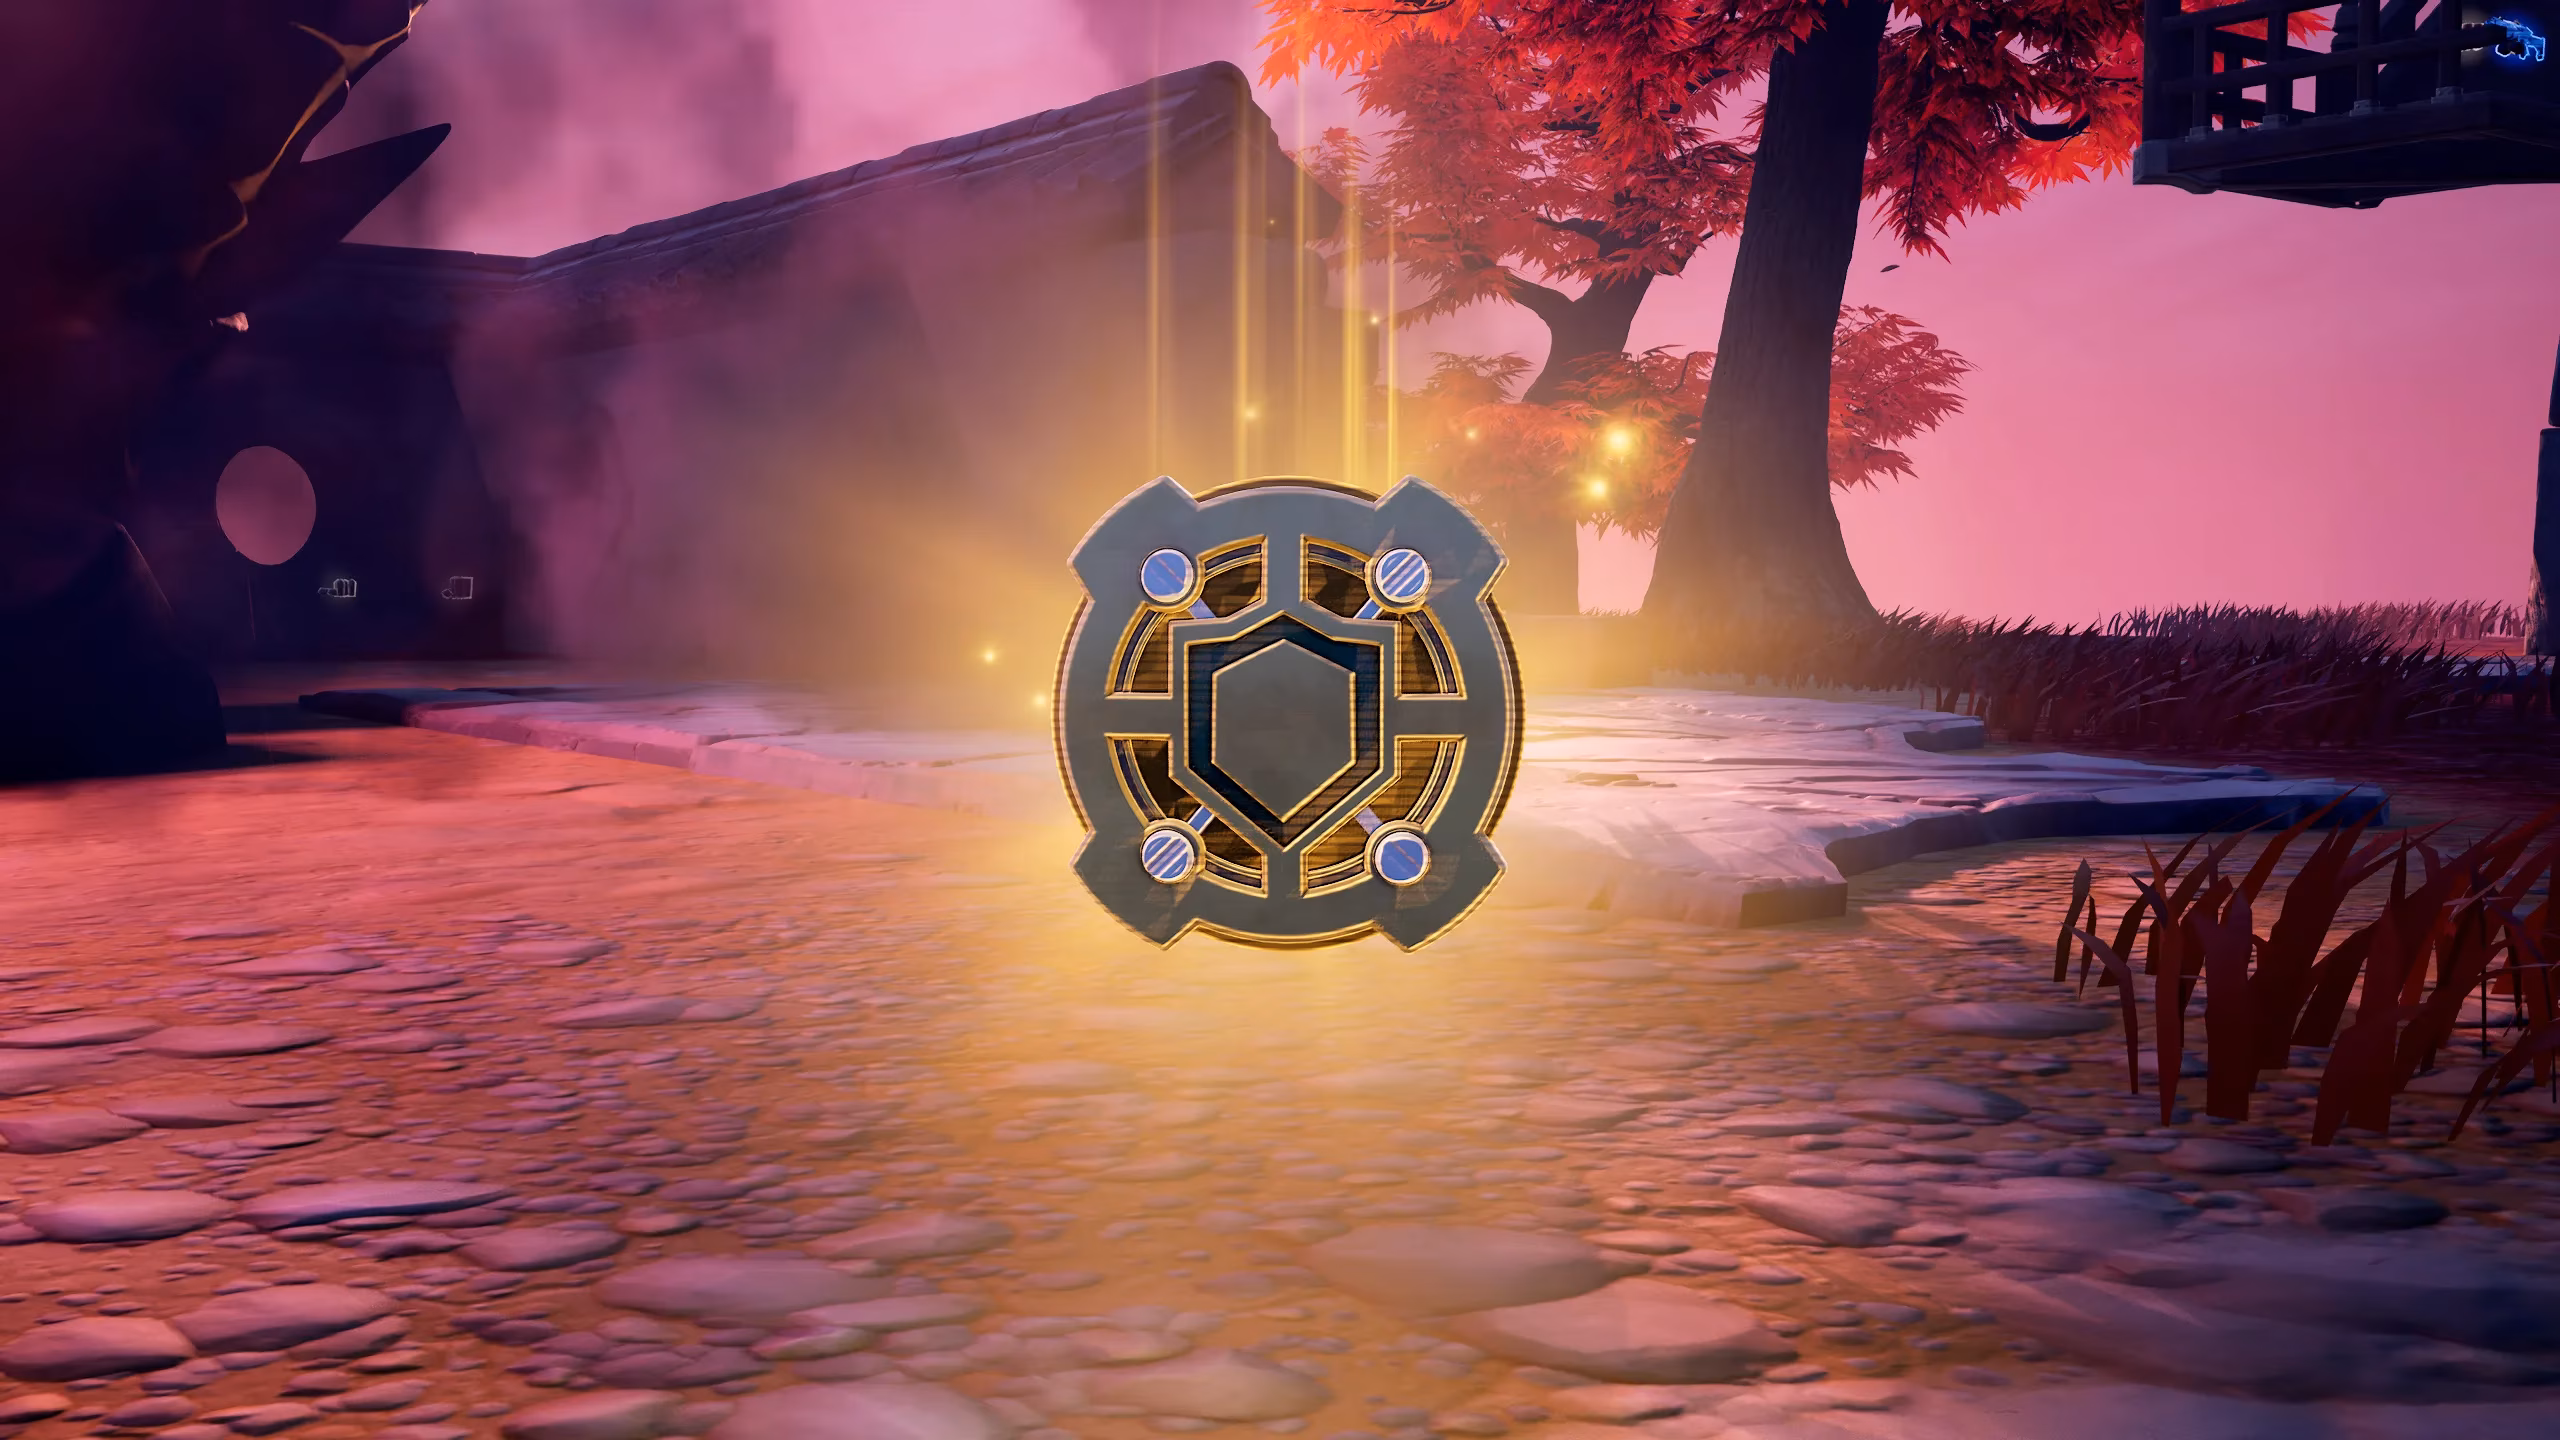
💙 Chug Jug
Ah, the OG. The Chug Jug that drops from Shogun X is nothing new, but it’s still one of the most satisfying slurp sounds in all of Fortnite. In a mode where storm surge and heal-offs can decide championships, having a guaranteed full HP and shield restore is like holding a royal flush. It synergizes disgustingly well with the Super Shield Medallion, creating a combo that makes you virtually untouchable while you drink your way back to full health.
🏆 Seize the Crown, Literally
Once players walk away with this unholy trinity of loot, the lobby is basically on notice. The Enhanced Holo Twister deletes enemies before they can even process where the shots came from, the Super Shield Medallion turns every potion into a tactical fortress, and the Chug Jug ensures you’re never caught lacking. The key takeaway is this: surviving until Storm Circle 4 and wrestling Shogun X away from the competition is a high-risk, ultra-high-reward play that separates the Victory Royale chasers from the casuals who still can’t build a wall. In a season defined by cinematic chaos and mythics that literally glow with power, missing out on this boss is like ignoring a golden ticket. So drop in, rotate smart, and let Shogun X be the final stepping stone to your most epic dub yet. Sheesh.